Autodarts Desktop
Autodarts Desktop is the free companion app that turns your cameras into a working Autodarts board — detection needs several cameras aimed at the board from different angles, not just one. Under the hood it runs Detection, the actual software doing the camera/dart processing — the same software also used by Headless Installation — and gives you everything to control it right in the app window. This is the "separate companion application" mentioned on Devices: setting one up is what adds a board to My Devices, which you can then select from the Autoscoring panel — see Autoscoring.
Like Devices in general, this whole page is optional. You only need Autodarts Desktop if you want a physical board to score your throws automatically. You can play Autodarts perfectly well by entering your own scores by hand.
And if you want autoscoring without setting up a multi-camera rig, Lens scores from a phone or tablet camera instead — no hardware to buy and no calibration step.
Downloading
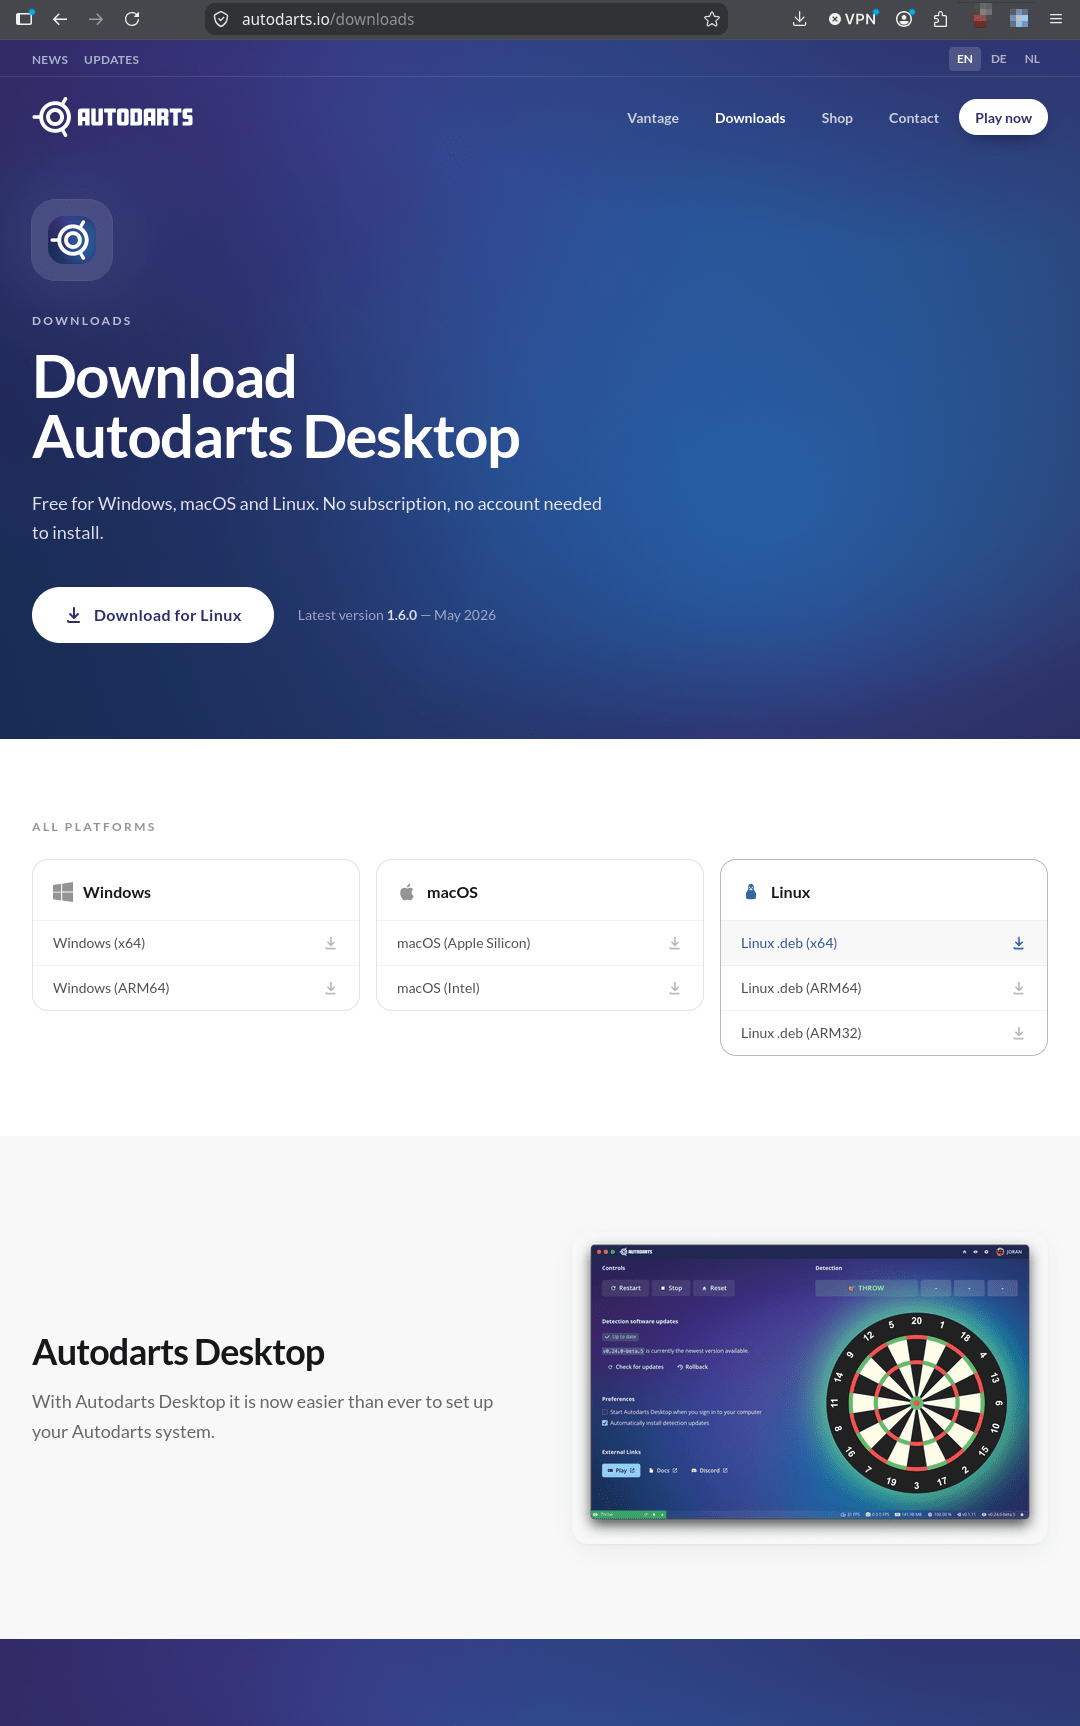
Get it from autodarts.com/downloads — free for Windows, macOS, and Linux. Installing it doesn't require an Autodarts account, but you'll need one to actually sign in and use it (see First-time setup below).
This page is about Autodarts Desktop, the app most people use — a normal application window you click your way through. If you're setting up a Linux machine or a Mac as a dedicated board host — e.g. a low-budget mini PC or a Raspberry Pi — see Headless Installation instead, a separate setup path for advanced users that does the same job from typed commands, with no window at all.
First-time setup
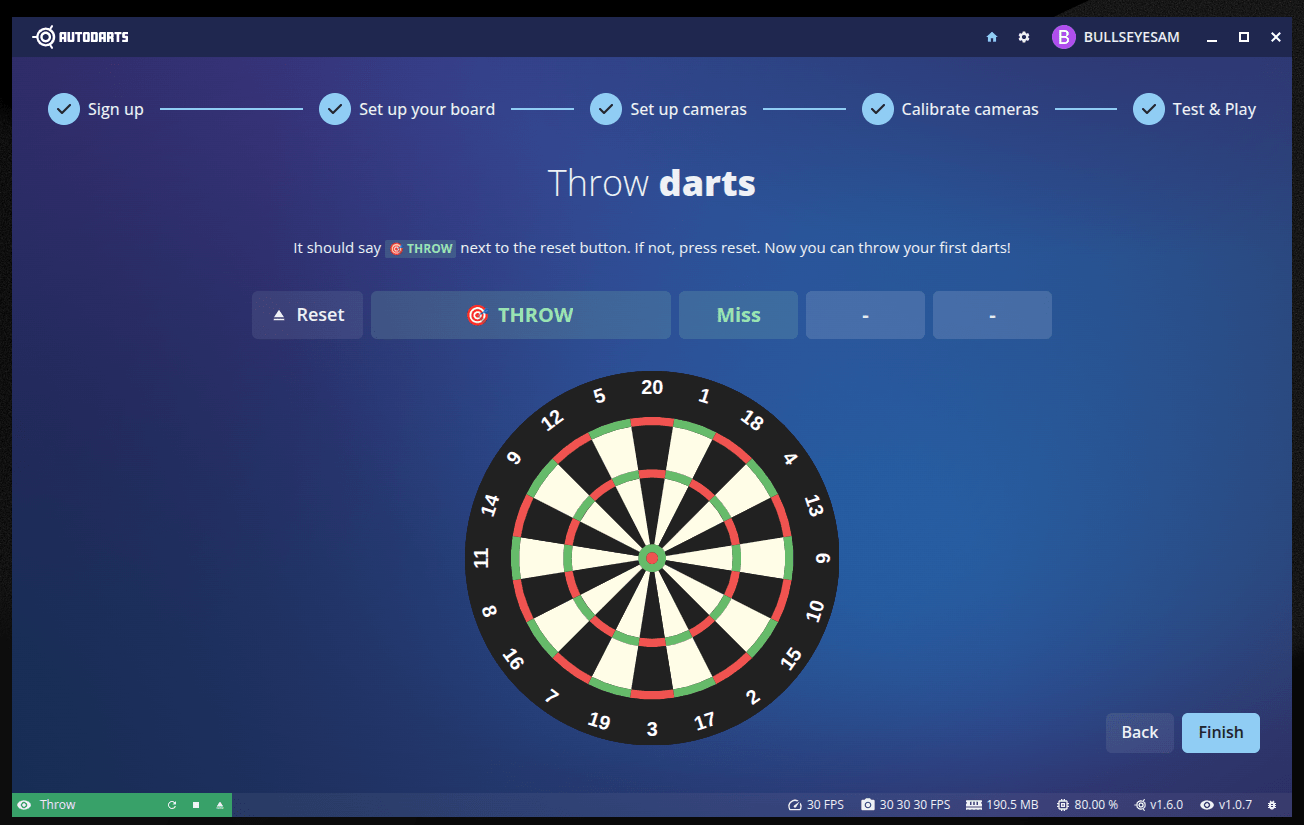
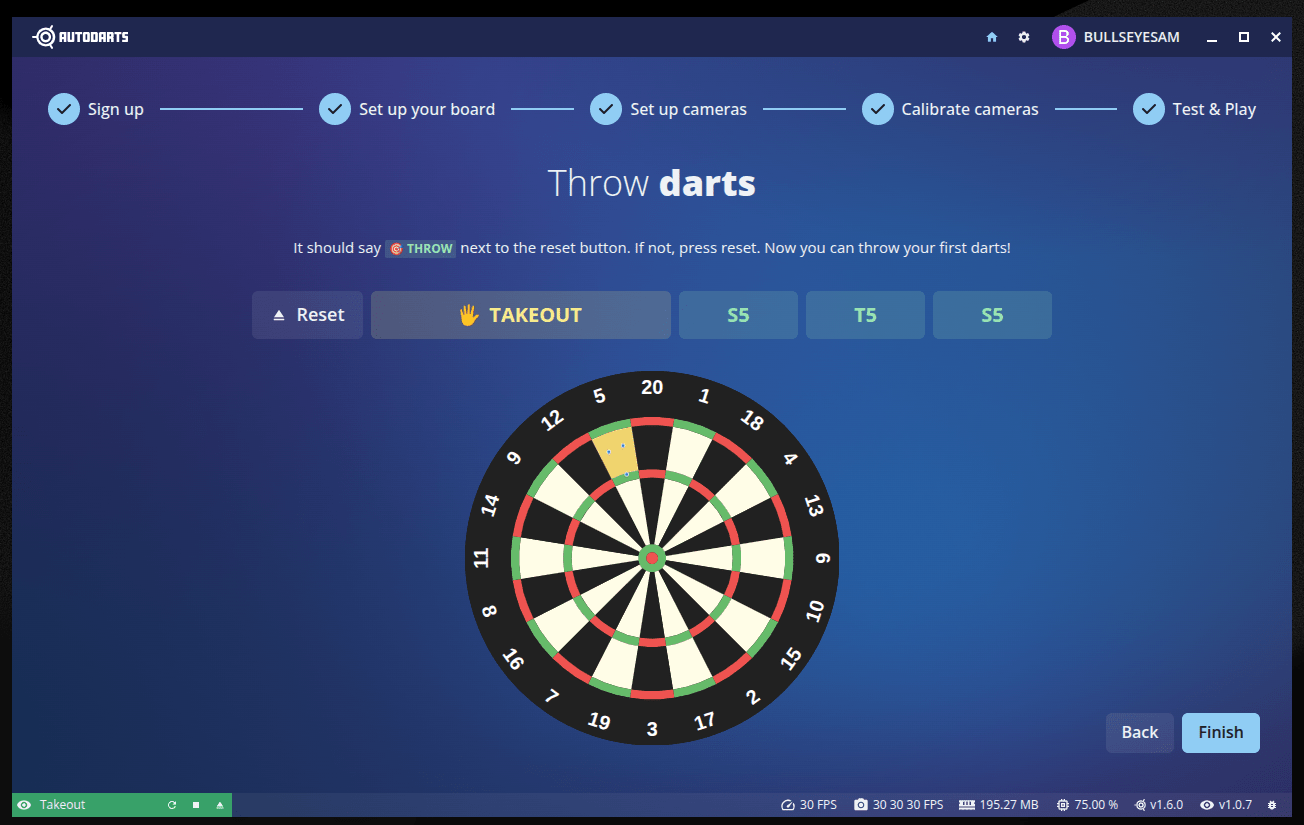
The first time it runs, Autodarts Desktop walks through a 5-step wizard: Sign up (or sign in), Set up your board, Set up cameras, Calibrate cameras, and Test & Play.
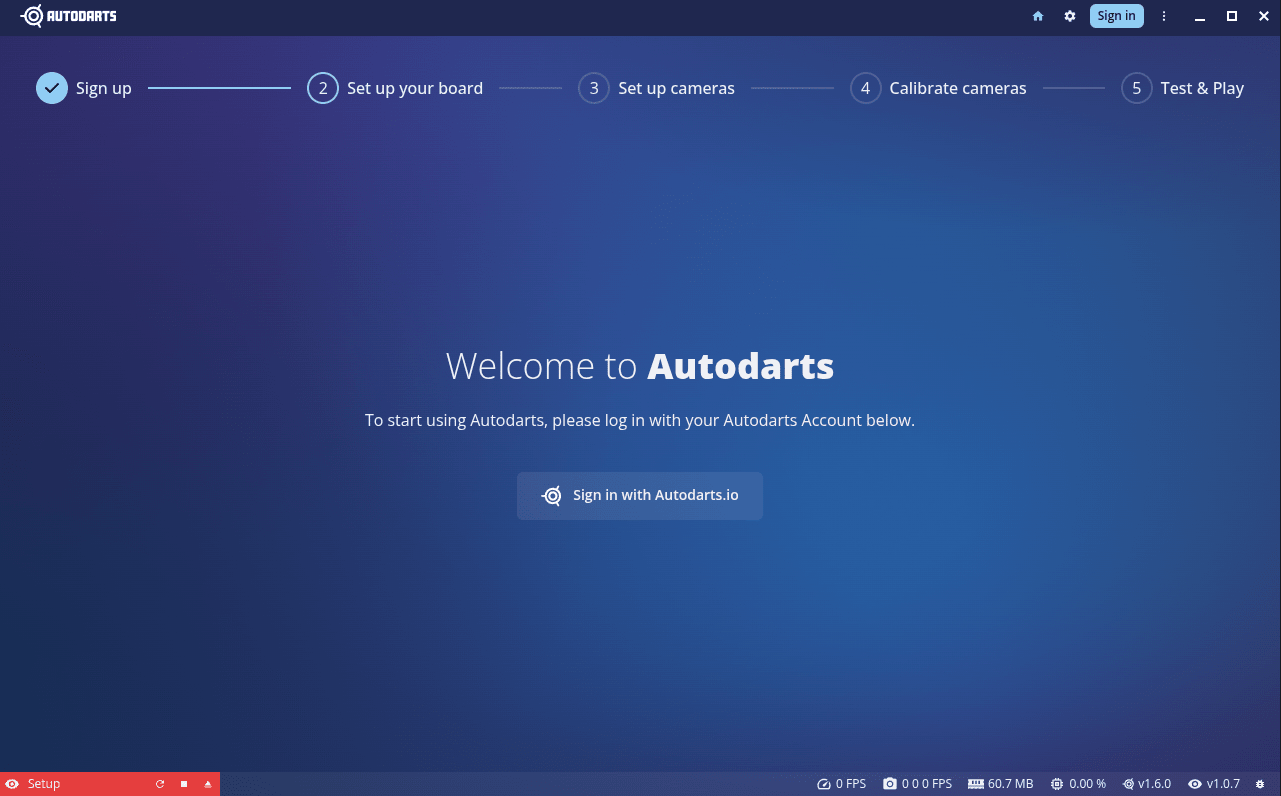
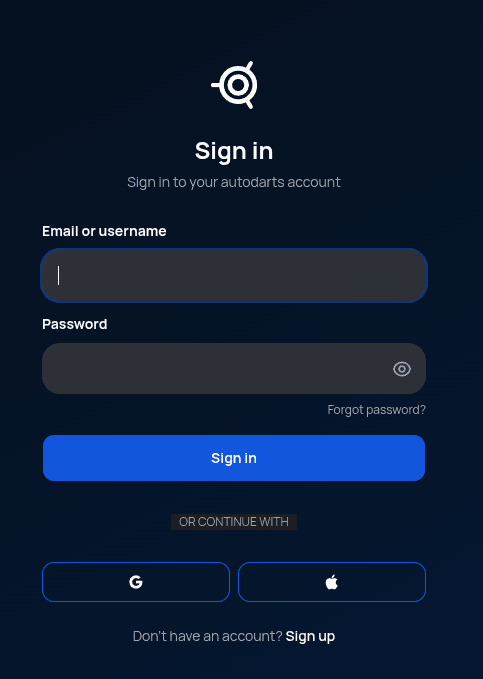
Signing in opens your browser to the normal Autodarts sign-in form — the same account you use on play.autodarts.com. Once signed in, return to the app to continue.
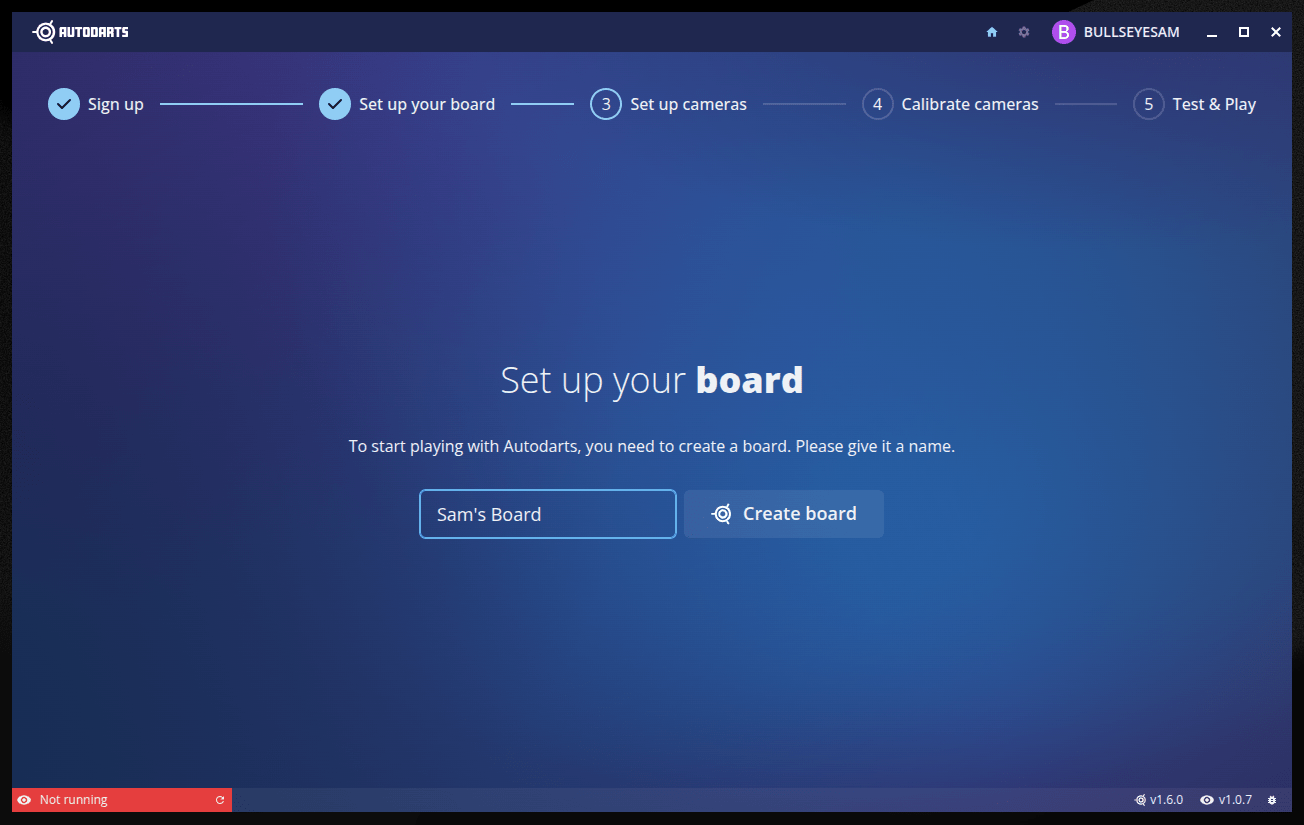
Set up your board — give your board a name.
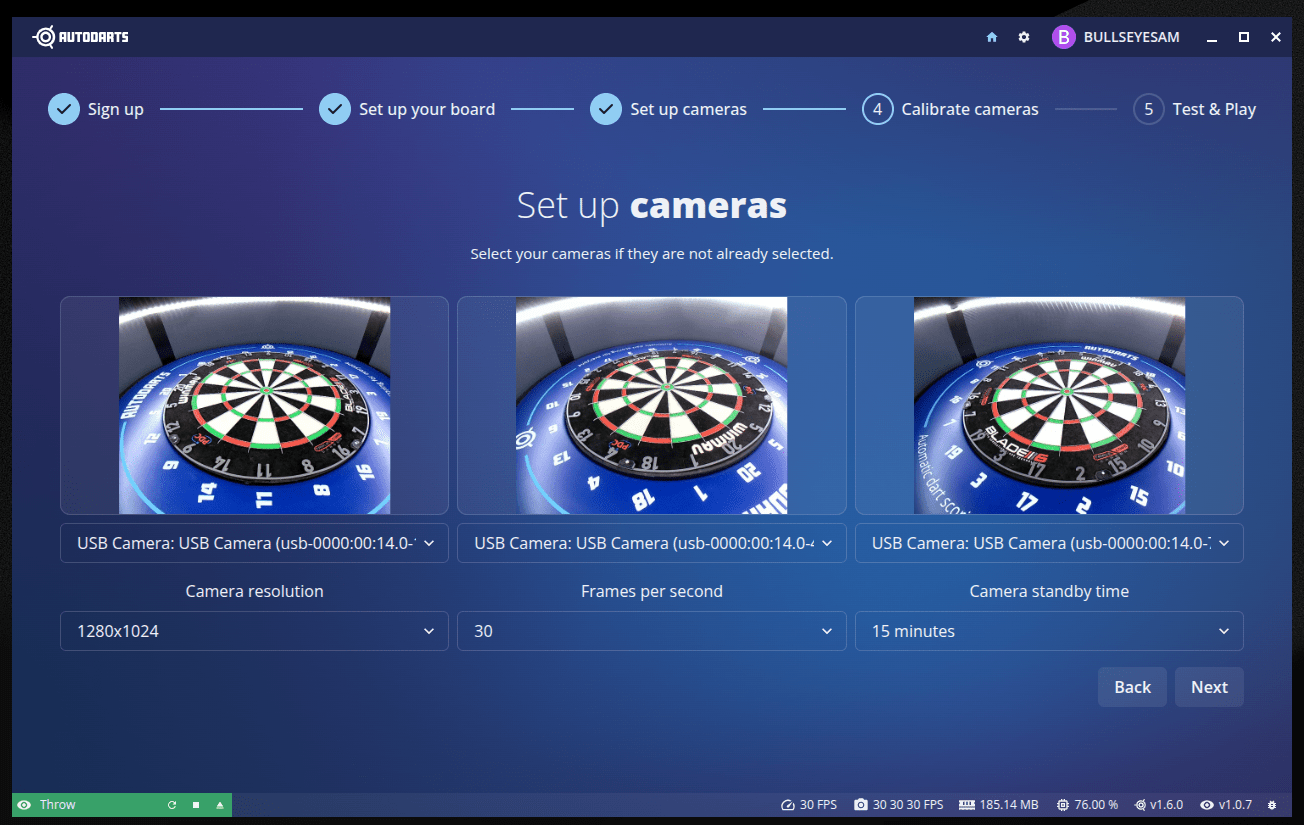
Set up cameras — detection needs several cameras aimed at the board from different angles. How many isn't something you choose; it's set by your hardware. For each feed, pick its camera, resolution, frame rate, and standby time.
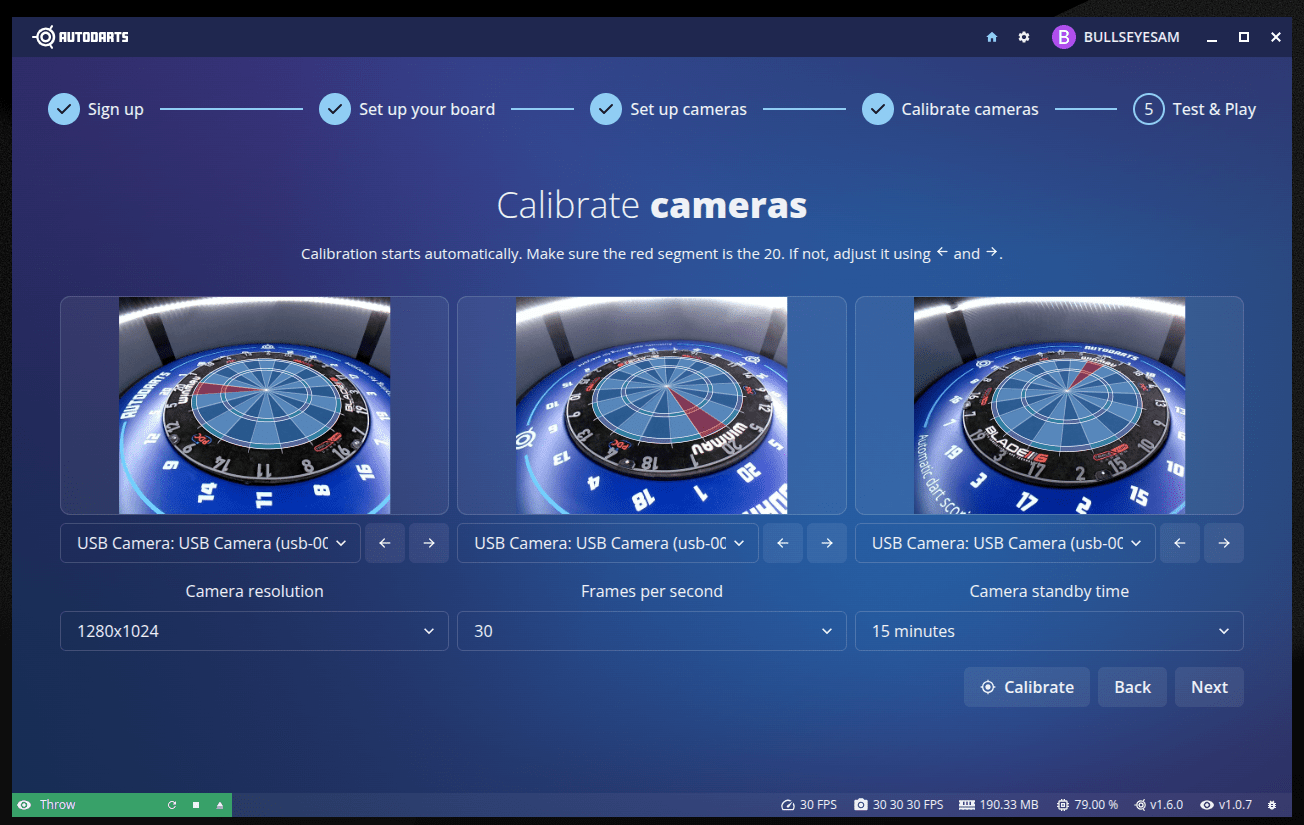
Calibrate cameras — on each feed, rotate the highlighted segment overlay with the arrow buttons until it actually sits on top of the board's 20 segment.
Test & Play — throw a few real darts to confirm detection works.
The default view
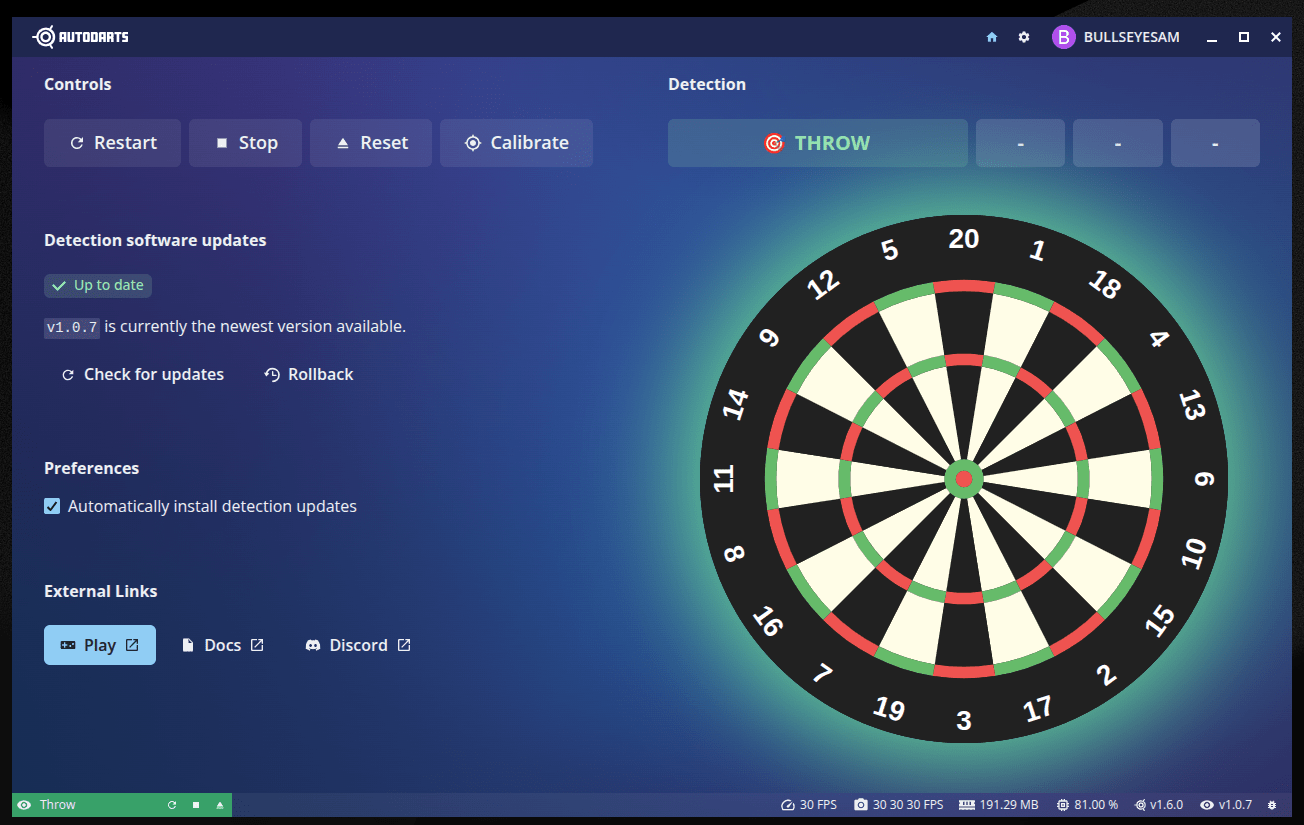
After setup, this is what Autodarts Desktop's own window looks like day to day: Controls (Restart/Stop/Reset/Calibrate), detection software update status, a couple of preferences, external links (Play/Docs/ Discord), and the live board view.
Showing up in My Devices
Once set up, your board appears on the My Devices page — this is the same page that's empty on a fresh account.
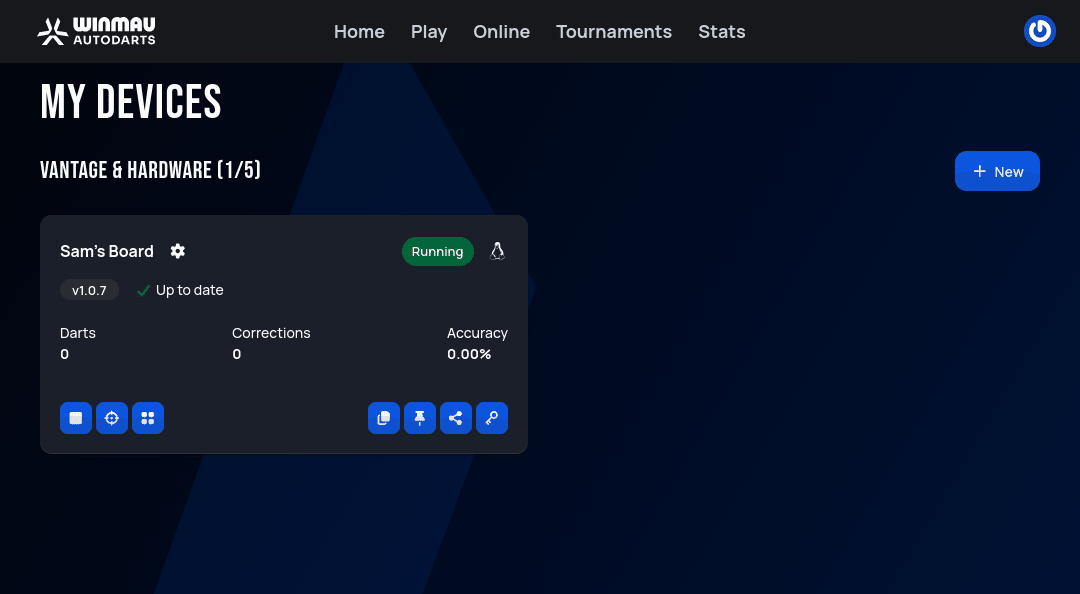
The icons on the board's card, left to right:
- Start/Stop — start or stop detection on this board.
- Calibrate — triggers autocalibration on this board's cameras directly, without opening a separate screen first.
- Board Manager (the tile-grid icon) — opens Board Manager, the browser interface of earlier versions. Not supported from version 2 on.
- Copy board ID — copies this board's ID.
- Follow board — opens a page that always shows the current match on this board.
- Share board — share this board with other accounts (e.g. multiple household members using the same physical board).
- Generate new board ID and API key — issues fresh credentials for this board. Only boards still running an earlier version need them: from version 2 on, signing in in the app connects the board for you.
Board Manager (earlier versions)
Earlier versions of Autodarts (0.x) were controlled through Board
Manager, a web page the board served at http://localhost:3180, and
were connected to your account by entering a Board ID and API Key into
it. Board Manager is not supported from version 2 on. Everything it
did is now in the Autodarts Desktop window — or, for a
headless install, on the autodarts
terminal screen — and signing in there connects the board to your
account without any IDs to copy.
Vision (troubleshooting)
The Vision screen is a diagnostic view into the detection pipeline itself, useful if darts aren't being detected correctly and you want to see what each camera sees at each stage. Day-to-day, the default view is all you'll need.
To reach it, turn on Advanced mode (called DIY mode in version 2.0) in the account menu (top right); an eye button then appears in the title bar. Its tabs: Motion (highlighting currently-detected movement), Movement (how detected movement changed between the last few darts), Detection (where the software thinks each dart landed), and Calibration (each camera's view warped onto the board, with the fitted rings drawn over it — the quickest way to check a calibration).
In Motion, yellow highlights whatever movement the system currently sees on the board — this is how it flags that something is happening (a dart has just hit, or is still settling) before it's classified.
Movement compares detected motion across the last few darts, one tile per camera/dart combination, color-coded:
- Green — the current state.
- Yellow — motion in the same spot as the previous state.
- Red — motion that was present in the previous state but is now missing (e.g. a dart that fell out, or got shifted away by another dart landing near it).
- Gray — the last dart, unchanged from the previous detection.
Following a board
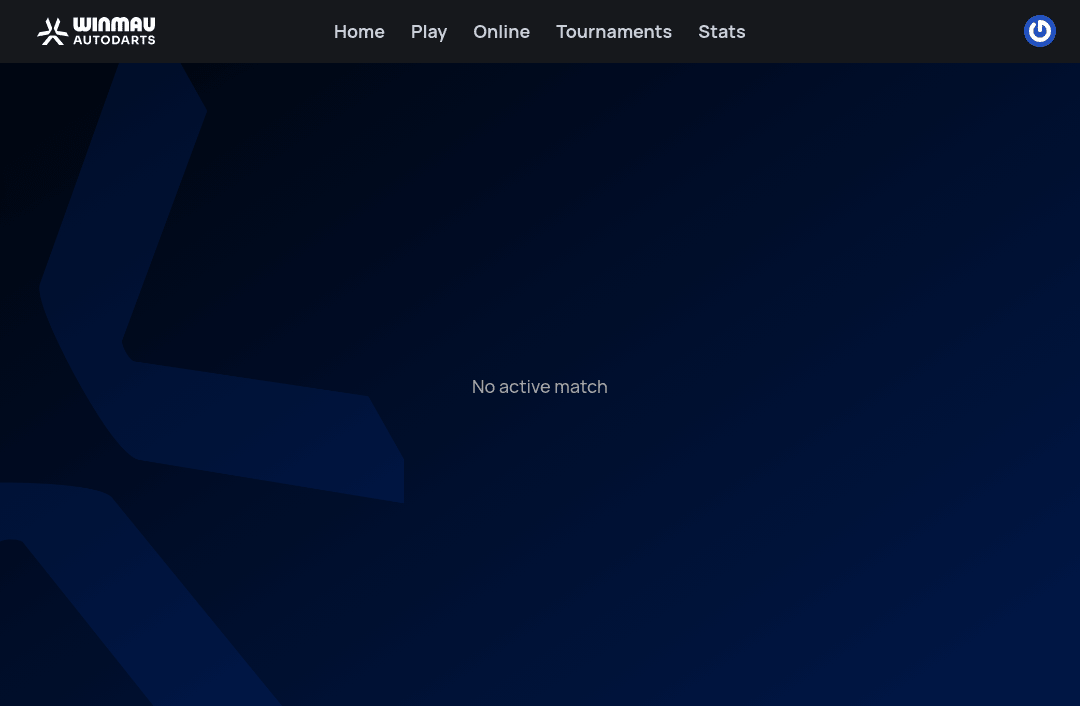
Follow board (one of the My Devices icons above) opens a page that always shows whatever match is currently being played on that board — handy for spectating a specific physical board. It shows this when nothing's being played: